Mirai

Mirai Writeup
Table of Contents
1. Service Enumeration
As usual, we start with an Nmap scan to identify open ports and services.
1
2
3
4
5
6
7
8
9
10
11
12
13
14
15
16
17
18
19
20
21
22
23
24
25
26
27
28
29
30
31
32
33
34
35
36
37
38
39
40
41
42
43
44
45
figueron@kali$ nmap -p- --min-rate 10000 10.10.10.48
Starting Nmap 7.80 ( https://nmap.org ) at 2022-05-13 20:32 UTC
Warning: 10.10.10.48 giving up on port because retransmission cap hit (10).
Nmap scan report for 10.10.10.48
Host is up (0.10s latency).
Not shown: 58325 closed ports, 7204 filtered ports
PORT      STATE SERVICE
22/tcp    open  ssh
53/tcp    open  domain
80/tcp    open  http
1877/tcp  open  hp-webqosdb
32400/tcp open  plex
32469/tcp open  unknown

Nmap done: 1 IP address (1 host up) scanned in 44.36 seconds
figueron@kali$ nmap -p 22,53,80,1877,32400,32469 -sCV 10.10.10.48
Starting Nmap 7.80 ( https://nmap.org ) at 2022-05-13 20:34 UTC
Nmap scan report for 10.10.10.48
Host is up (0.11s latency).

PORT      STATE SERVICE VERSION
22/tcp    open  ssh     OpenSSH 6.7p1 Debian 5+deb8u3 (protocol 2.0)
| ssh-hostkey:
|   1024 aa:ef:5c:e0:8e:86:97:82:47:ff:4a:e5:40:18:90:c5 (DSA)
|   2048 e8:c1:9d:c5:43:ab:fe:61:23:3b:d7:e4:af:9b:74:18 (RSA)
|   256 b6:a0:78:38:d0:c8:10:94:8b:44:b2:ea:a0:17:42:2b (ECDSA)
|_  256 4d:68:40:f7:20:c4:e5:52:80:7a:44:38:b8:a2:a7:52 (ED25519)
53/tcp    open  domain  dnsmasq 2.76
| dns-nsid:
|_  bind.version: dnsmasq-2.76
80/tcp    open  http    lighttpd 1.4.35
|_http-server-header: lighttpd/1.4.35
|_http-title: Site doesn't have a title (text/html; charset=UTF-8).
1877/tcp  open  upnp    Platinum UPnP 1.0.5.13 (UPnP/1.0 DLNADOC/1.50)
32400/tcp open  http    Plex Media Server httpd
| http-auth:
| HTTP/1.1 401 Unauthorized\x0D
|_  Server returned status 401 but no WWW-Authenticate header.
|_http-cors: HEAD GET POST PUT DELETE OPTIONS
|_http-title: Unauthorized
32469/tcp open  upnp    Platinum UPnP 1.0.5.13 (UPnP/1.0 DLNADOC/1.50)
Service Info: OS: Linux; CPE: cpe:/o:linux:linux_kernel

Service detection performed. Please report any incorrect results at https://nmap.org/submit/ .
Nmap done: 1 IP address (1 host up) scanned in 28.46 seconds
We can see that there are several open ports: 22, 53, 80, 1877, 32400, and 32469.
The landing page is an empty page, so we decide to check for directory brute-forcing.
2. Web Recon
1
2
3
4
5
6
7
8
9
10
11
12
13
14
15
16
17
18
19
20
21
22
23
24
25
26
27
28
29
30
31
32
33
34
35
36
37
figueron@kali$ feroxbuster -u http://10.10.10.48

 ___  ___  __   __     __      __         __   ___
|__  |__  |__) |__) | /  `    /  \ \_/ | |  \ |__
|    |___ |  \ |  \ | \__,    \__/ / \ | |__/ |___
by Ben "epi" Risher 🤓                 ver: 2.5.0
───────────────────────────┬──────────────────────
 🎯  Target Url            │ http://10.10.10.48
 🚀  Threads               │ 50
 📖  Wordlist              │ /usr/share/seclists/Discovery/Web-Content/raft-medium-directories.txt
 👌  Status Codes          │ [200, 204, 301, 302, 307, 308, 401, 403, 405, 500]
 💥  Timeout (secs)        │ 7
 🦡  User-Agent            │ feroxbuster/2.5.0
 🏁  HTTP methods          │ [GET]
 🔃  Recursion Depth       │ 4
 🎉  New Version Available │ https://github.com/epi052/feroxbuster/releases/latest
───────────────────────────┴──────────────────────
 🏁  Press [ENTER] to use the Scan Management Menu™
──────────────────────────────────────────────────
301      GET        0l        0w        0c http://10.10.10.48/admin => http://10.10.10.48/admin/
301      GET        0l        0w        0c http://10.10.10.48/admin/scripts => http://10.10.10.48/admin/scripts/
301      GET        0l        0w        0c http://10.10.10.48/admin/img => http://10.10.10.48/admin/img/
301      GET        0l        0w        0c http://10.10.10.48/admin/style => http://10.10.10.48/admin/style/
301      GET        0l        0w        0c http://10.10.10.48/admin/style/vendor => http://10.10.10.48/admin/style/vendor/
301      GET        0l        0w        0c http://10.10.10.48/admin/scripts/vendor => http://10.10.10.48/admin/scripts/vendor/
200      GET        1l        1w       18c http://10.10.10.48/versions
200      GET      145l     2311w    14164c http://10.10.10.48/admin/LICENSE
200      GET       20l      170w     1085c http://10.10.10.48/admin/style/vendor/LICENSE
200      GET       20l      170w     1085c http://10.10.10.48/admin/scripts/vendor/LICENSE
[####################] - 1m    209993/209993  0s      found:10      errors:42
[####################] - 1m     29999/29999   267/s   http://10.10.10.48
[####################] - 1m     29999/29999   267/s   http://10.10.10.48/admin
[####################] - 1m     29999/29999   263/s   http://10.10.10.48/admin/scripts
[####################] - 1m     29999/29999   263/s   http://10.10.10.48/admin/img
[####################] - 1m     29999/29999   268/s   http://10.10.10.48/admin/style
[####################] - 1m     29999/29999   268/s   http://10.10.10.48/admin/style/vendor
[####################] - 1m     29999/29999   268/s   http://10.10.10.48/admin/scripts/vendor
Here we can see that there is a directory called admin that we can access.
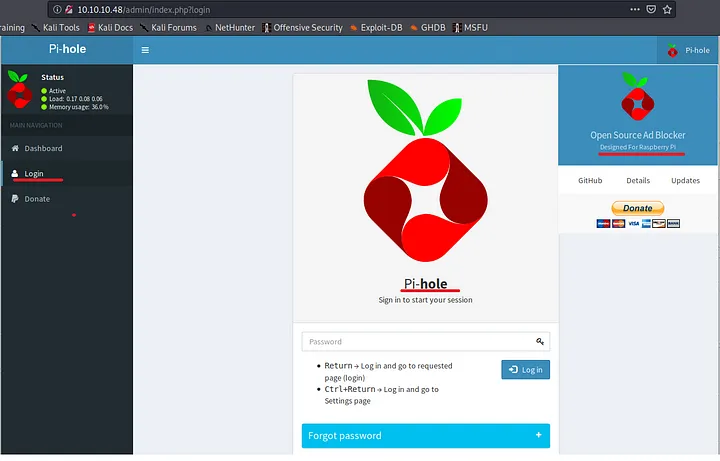
Here we can find some valuable information, such as that this was designed for Raspberry Pi, but at first I didnt notice that. So I continued with other ports.
3. Exploring Other Open Ports
We can look at the other ports to see if we can find something interesting.
Port 53
Here we can try to do a zone transfer with:
1
dig axfr @10.10.10.48 [zone]
As we dont know any hostnames, we can try to with HTB patterns ushc as mirai, mirai.htb or htb.mirai, but we aren’t lucky.
Port 32400
We can try to access the Plex Media Server at http://10.10.1.0.48:32400/web but we need to login. We can try default credentials, but they don’t work. Here we can register and login to see if we can find something interesting.
But sadly, inside there is nothing interesting but the version of the Plex Media Server, which was not vulnerable at the time I did this machine (maybe now it is, dont forget to check for CVE’s).
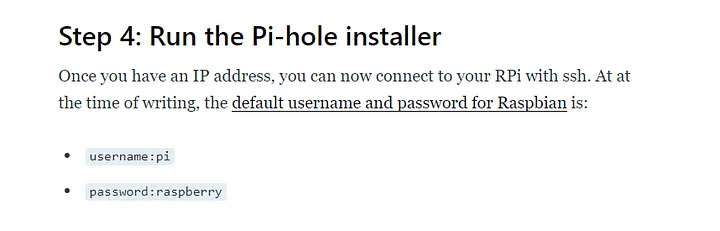
Port 22
One of the things I learned of real hacking attacks at university, is that there was a real malware called Mirai that was used to infect IoT devices. This malware was used to create a botnet that was used to perform DDoS attacks.
Mirai’s go-to attack was to brute force common default passwords. In fact, mirai-botnet.txt was added to SecLists in November 2017.
So we can try a default credentials for ssh of a raspberry pi, which is pi:raspberry.
Now we can see that we have access to the machine as the user pi, who can read the user flag.
4. Privilege Escalation
After reading the user flag, we can see that the user pi can run sudo -l without password.
This will means that pi can run any command as root without password, so we just need to run sudo su to get a root shell and read the root flag.
Root Flag
1
2
root@raspberrypi:~# cat root.txt
I lost my original root.txt! I think I may have a backup on my USB stick...
It cant be so easy 😉
At this point we can try to find the USB stick and see if we can find the backup of the root flag.
1
2
3
4
root@raspberrypi:~# mount
...[snip]...
/dev/sdb on /media/usbstick type ext4 (ro,nosuid,nodev,noexec,relatime,data=ordered)
tmpfs on /run/user/999 type tmpfs ...[snip]...
We can go look at the USB stick and see if we can find the backup of the root flag.
1
2
3
4
5
6
7
8
9
root@raspberrypi:~# cd /media/usbstick
root@raspberrypi:/media/usbstick# ls -la
...[snip]...
-rw-r--r-- 1 root root 129 Aug 14 05:19 dammit.txt
root@raspberrypi:/media/usbstick# cat dammit.txt
Dammit! Sorry man I accidentally deleted your files off the USB stick.
Do you know if there is any way to get them back?

-James
Now we can see that that was deleted, but as usb stick was mounted on /dev/sdb, and with the philosophy of Linux, we can think that the files are still there, but the inode was deleted. This means that the content is still there, but the system doesn’t know where it is. So we can try to recover the file with for example using strings to /dev/sdb.
1
strings /dev/sdb
This will give us some output in which we can see the root flag.
Done!!